We are officially at the halfway point of Rhino Piling’s exclusive 6-part mini piling series. So far, we have explored a 2-day project that we completed in Mirfield and a piling extension project that we did in Wakefield. Both projects had their fair share of challenges, but that is why we created this series, to highlight how we overcome obstacles in any piling project. We are going to continue our journey through completing a piled foundation today, and this time it is all about the installation process. Keep on reading if you want to know just how the team here at Rhino Piling installs piles like a pro. Let’s get straight into part 3!
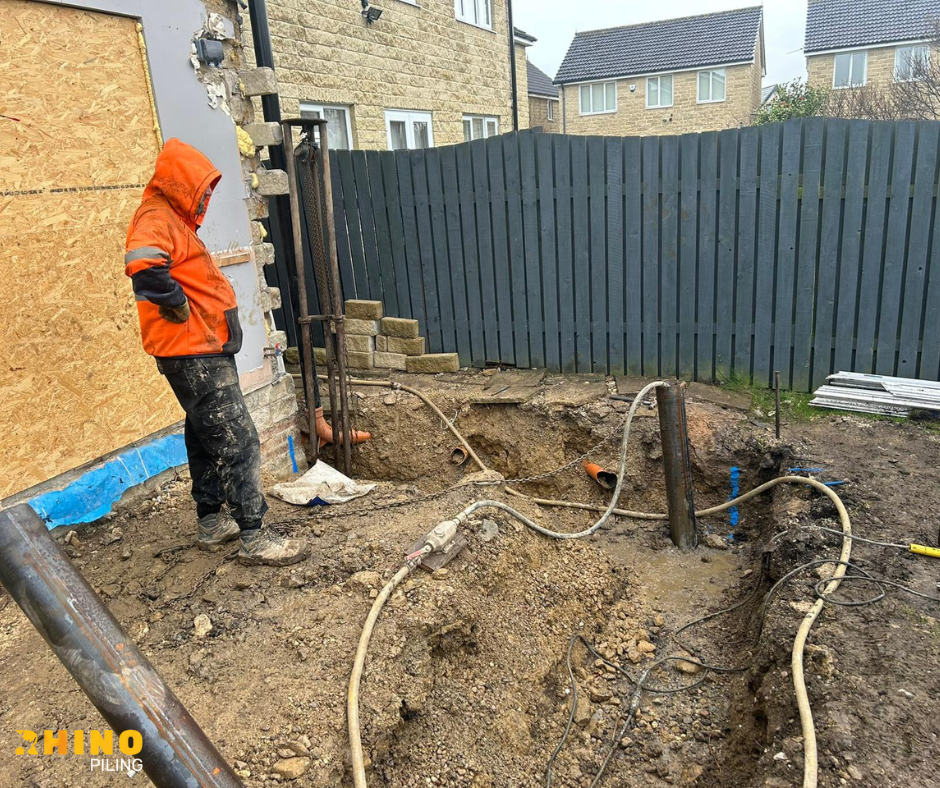
In the right-hand corner of the pile foundation of this project, there was a pile being driven with an airline coming out of the top of the tube. For those who are wondering, the airline coming out of the top of the pile goes to the lubricator. The lubricator provides oil to our piling machine for optimal functioning. The lubricator is also attached to a yellow hose that goes straight to our road tow compressor, which, at this project, was located at the front of the property. The road tow compressor gives the power to operate the piling machine, so, as you can imagine, it is pretty important in the pile installation process. The piling machine that was used for this project is better known as a ‘Veemer Mole,’ and it is another vital piece of equipment used in the piling process. We continue to repeat the process of driving the piles using the piling machine and the extraction of the piling machine until all of the piles have been driven. Thanks to our skills and amazing state-of-the-art technology, we are able to install piles seamlessly.
Do not forget to stay tuned for part 4 of our mini piling series, and spoiler alert, it is an interesting one! For more information about the piling services that we offer here at Rhino Piling, please do not hesitate to get in touch with us today.