Rhino Piling is back at it again, bringing you part 4 of the mini piling series. So far, we have covered an abundance of piling-related things, including the installation process of a pile foundation and even detailed information on how we prepare a site before a piling project. In part 4 of the mini piling series, we will be carrying on from the previous project, but this time, it will be all about how we officially get the extension out of the ground. It takes a lot of skill and state-of-the-art equipment to do this sort of task, and we will be sharing it all today. Let’s get straight into it!
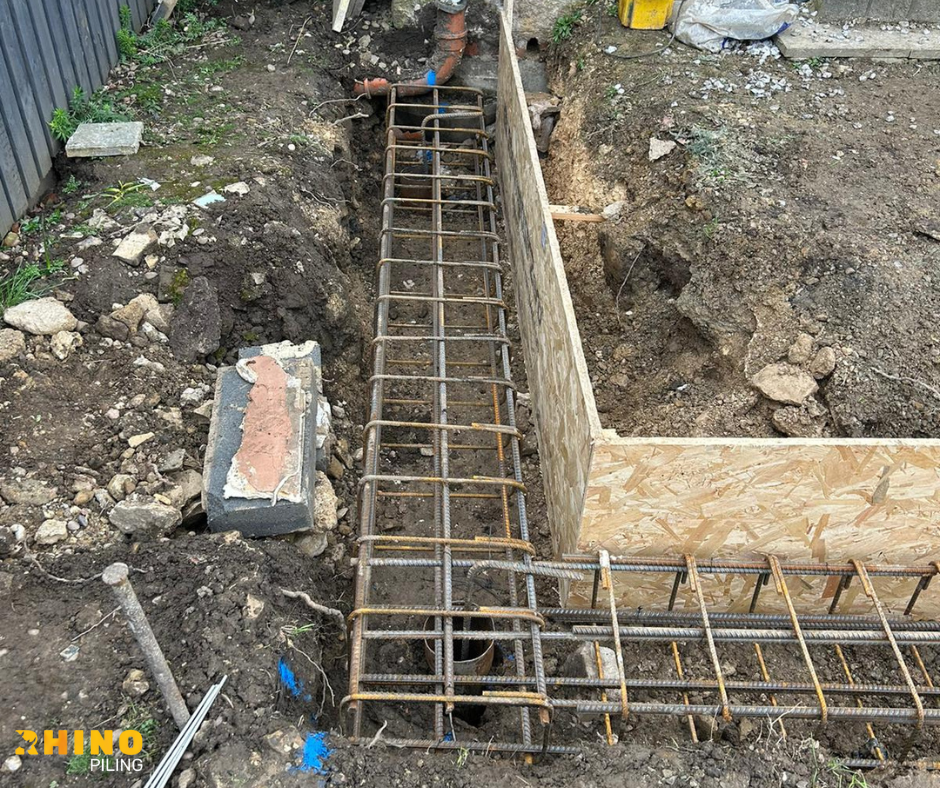
It will not be long now until Rhino Piling gets this extension out of the ground for good! At this point in the piling process, we have installed steel rebar cages. This is done to provide more structural reinforcement and strength to your foundation. We want your foundations to stand the test of time, which is why we go the extra mile to ensure stability and durability. Prior to installing the cages, the piles had been cut down using a Stihl Saw/Grinder at the same level. We do this so that when the cages are installed on top of the piles, they are not running up or down.
The cages are then connected together using a joining bar, and each bar is also fitted with a down bar. The down bar is made of steel and is shaped like an ‘L’ so that it is easier to connect the piles to the steel rebar cages. Now, all that is left to do is some last installation steps and a project inspection from building control.
Do not miss part 5 of our mini piling series, where we will be exploring the final installation steps and even taking you through the inspection process, which is done by building control. For more information about the piling services that we have on offer here at Rhino Piling, please do not hesitate to get in touch today.