We are officially up to the second-to-last part of the Rhino Piling mini piling series, and what a journey it has been so far. Before we get straight into part five of the mini piling series, let’s have a small recap of what the series has entailed so far.
In part one of our mini piling series, we explored a 2-day project we had recently completed in Mirfeld. In part two, we took you through the start to finish of a small piling extension in Wakefield. In part three, we delved deep into the installation process of piling, and then in part 4, we carried on explaining how we got the extension out of the ground. Part 5 of the series is going to be about the final installation steps of a piling project and all about the inspection from building control, which is essential after every piling project. Let’s get straight into it!
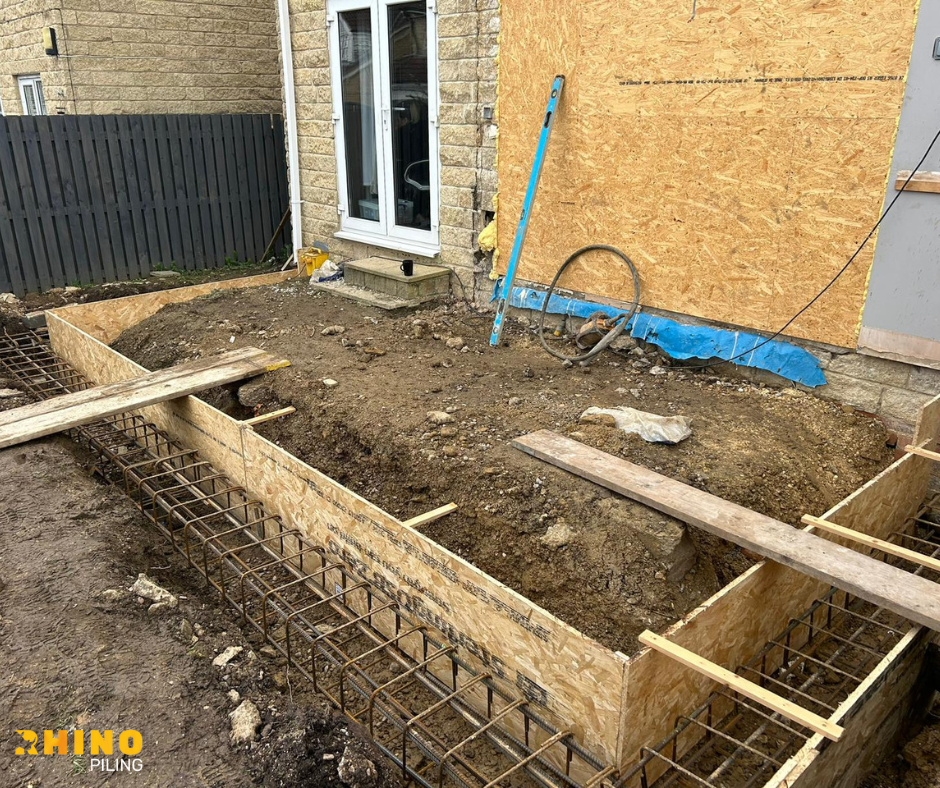
Carrying on from the previous project we were working on, we are now finally at the point where the final installation steps are necessary. The builders added shutters around the cages that we had previously installed to minimise the amount of concrete usage, as the dig was much wider than required. At this point, all of the cage work had been installed, and it was now being shuttered. This shuttering was made from timber and could be seen on one side and, in some places, on both sides of the cages that we installed.
It was then time for an inspection by building control. Building control comes out to inspect the foundation and ensure that what we have installed complies with what has been requested and specified by the structural engineer. Here at Rhino Piling, we lease building control ourselves so that you do not have to worry about it.
Ensure that you stay tuned for part 6 of the Rhino Piling mini piling series, as it will sadly be the finale of this series. For more information about the piling services that we offer here at Rhino Piling, please do not hesitate to get in touch with us today.