The time has finally come, it is the finale of our mini piling series! Before we jump straight into the last part of our mini piling series, let’s do a full recap of what we have covered so far. Part 1 of our mini piling series highlighted a project that we completed in Mirfield within a two-day time period. Part 2 of the series delved deep into the start-to-finish process of a piling project that we completed in Wakefield. Then parts 3 to 5 of our mini piling series went into great detail about the entire piling process of an extension, covering all aspects such as how we got it out of the ground and even details about the building control inspection. That leaves us with part 6 of our mini piling series. Let’s jump straight into it!
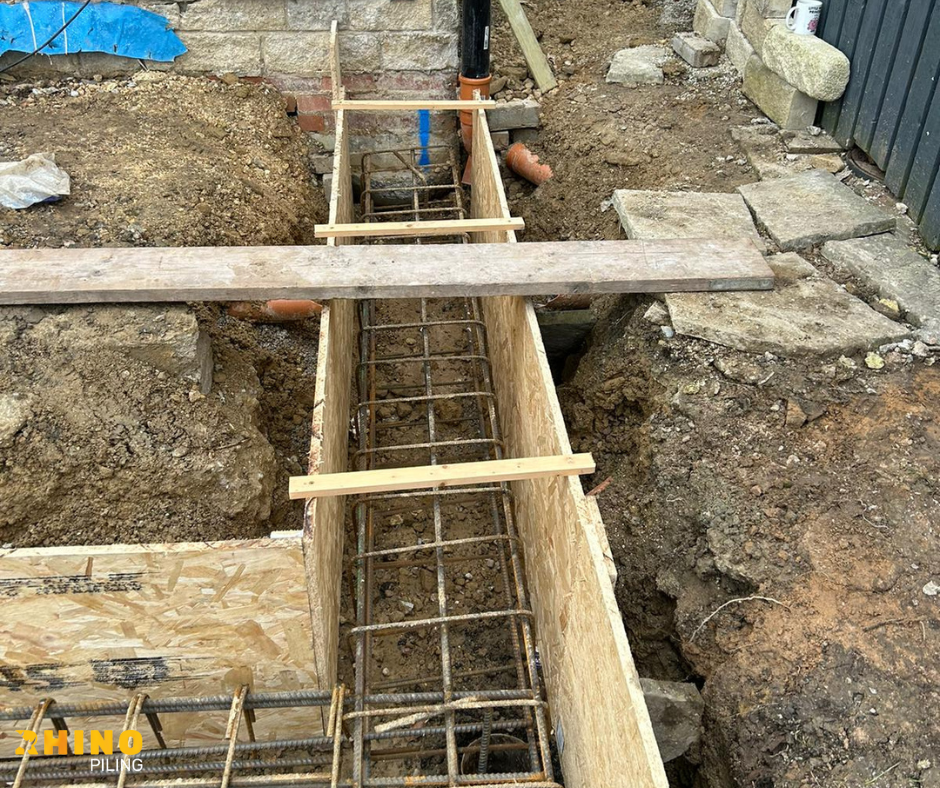
The step that all customers look forward to, whether they are homeowners, contractors, or builders, is always the installation of concrete, and we totally understand why! Even once the concrete has been installed, there is always more work that needs to be done than what meets the eye. As the concrete is installed, we use a mechanical vibration unit which is also known as a ‘poker,’ to ensure that there are no air bubbles in the concrete. For this specific project, we installed the concrete using wheelbarrows and then raked the concrete to the desired height. A laser level was then used to ensure that the concrete was all installed at the same level. We do this because, here at Rhino Piling, we strive for perfection with every project that we do. Finally, to ensure a perfect finish, a spirit level is used to tamp and do a final check of the concrete levels.
We have now officially completed all parts of the mini piling series. We hope you enjoyed it and can take something away from the information shared in this series! For more information about the piling services that we offer here at Rhino Piling, please do not hesitate to get in touch with the team today.